


In the age of smartphones, everyone has the potential to be a photographer. With just a few simple tips and tricks, you can elevate your mobile photography game and capture stunning images that tell your story. These pointers will help you make the most of your phone’s camera and unleash your creativity.
#1: Start with a quality camera phone
The latest Apple iPhone, Google Pixel, OnePlus, or Samsung Galaxy devices offer superior camera capabilities. Upgrading your phone can make a significant difference in your photos.
Additionally, be sure to choose the right camera setting for your shot. Use portrait mode for focusing on people, panorama mode for wide landscapes, pro mode for manual control over settings like ISO and shutter speed, and night mode for reducing noise in low-light conditions.
#2: Clean your lens
It might seem trivial, but cleaning your camera lens is crucial for capturing crystal-clear photos. Our phones live in our pockets and are constantly being handled, which means they gather all sorts of smudges and grime. To ensure your shots are sharp, make sure your lens is free of debris, fingerprints, and smudges.
A microfiber cloth works wonders—it’s gentle, leaves no scratches, and is likely something you already have if you wear glasses. Simply give your lens a circular wipe. For extra greasy or particularly dirty lenses, opt for a lens wipe.
#3: Use natural light
Smartphones excel in low light with bright lenses and night mode, but it’s always best to seek out good lighting. Natural light is ideal, so use sunlight from a window. If you don’t have access to windows or lamps, turn on some lights in the room. Your phone’s automatic white balance will adjust the exposure settings based on the brightness. Turning off overly bright lights might help achieve better results also, so experiment taking test shots. Smartphone flashes should be a last resort as they can be harsh on skin tones and create unwanted shadows.
If indoor natural light isn’t available, mimic daylight with artificial lighting between 5000K and 6500K. Incandescent and halogen bulbs provide a warm, natural glow, while HMI and LED lights are great for bright, consistent illumination.
Bright sunny days can create fantastic outdoor photography conditions that might confuse your camera. To avoid blown-out, overexposed shots when capturing a dark subject against a bright background, simply place your sunglasses lens over your camera. This hack helps balance the exposure and gives your photos a professional touch.
To enhance your lighting:
- Angle it: Illuminate from the side for depth.
- Reflect it: Reflectors can shape the light.
- Balance it: Choose the right white balance.
- Diffuse it: Use a diffuser for softer light.
- Use overcast: Overcast skies reduce shadows.
- Shade it: Use shade on sunny days to soften light.
- Golden hours: Shoot just after sunrise or before sunset for warm, soft light.
#4: Compose like a pro
Ever wonder why some photos pop in a feed? The Rule of Thirds is your secret weapon. This technique divides your image into a three-by-three grid. Position your subject in the left or right third of the image, leaving the other two-thirds open for negative space. Place key elements, like your subject’s eye, where the lines intersect to create balance and visual interest.
Most smartphones have a Rule of Thirds setting—turn it on to enhance your photos and captivate your audience. Say goodbye to boring photos and hello to stunning compositions!
Need help turning on the grid lines? Check out this resource: How to enable the rule of thirds grid on your device.

#5: Steady hands, sharp shots
For sharper shots, take a moment to steady your stance. Hold your phone like a camera with both hands and use any physical controls for exposure. Many phones offer a camera shortcut from the lock screen, and the volume button can act as a shutter, allowing a firmer grip.
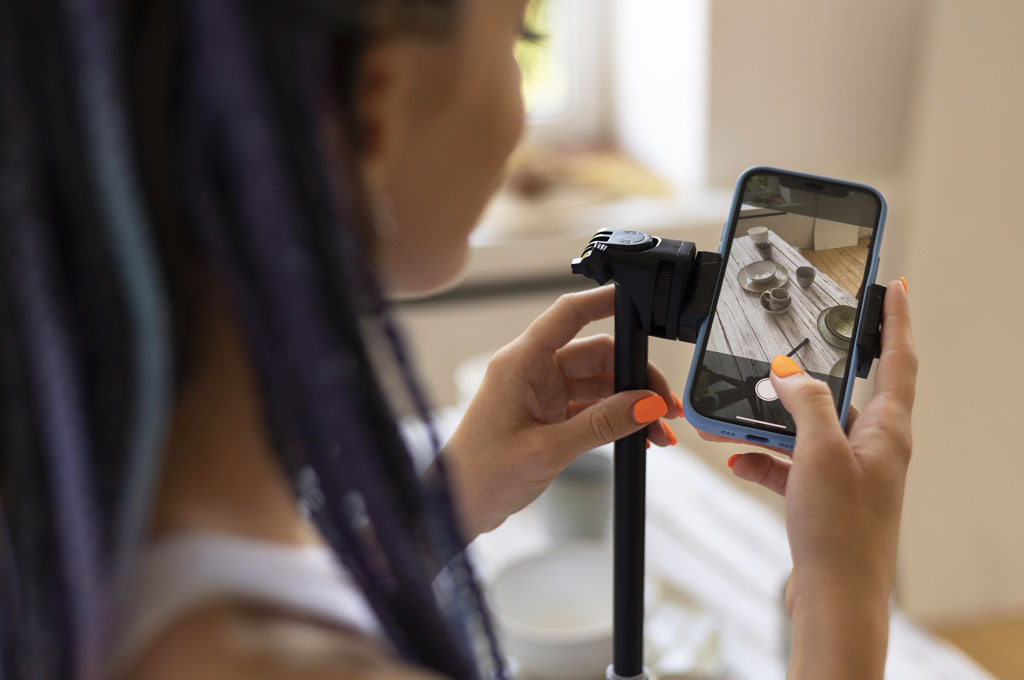
Tripods are your best friend for stable, long exposures! They eliminate handshakes and ensure crisp images, especially in low light.
Always use the rear camera for top-notch photos. The front camera, while great for selfies, often lacks the detail and quality needed for professional shots due to its wider lens and selfie-oriented processing.
#6: Skip the zoom
When taking photos, it’s best to move closer to your subject rather than using your phone’s zoom. Digital zoom degrades image quality, making photos blurry and pixelated. On any camera, zooming reduces image clarity, but on a phone, it’s especially noticeable. So, skip the zoom and walk closer instead—think of it as “zooming with your feet”!
Most smartphones, like iPhones, offer lens correction to fix distortion, but relying on natural composition will give you the best results. Only use the zoom feature when absolutely necessary, such as when photographing distant subjects like wildlife.
#7: Make a connection
When shooting with an unfamiliar subject, act professionally and help them feel at ease. Aim for them to connect with the camera, not just with you.
In portrait or candid photography, making your subjects laugh captures their happiness and helps them relax, leading to better photo outcomes.
#8: Take multiple photos
Use your smartphone’s burst mode to take multiple photos in rapid succession without repeatedly pressing the shutter button. This feature is great for group shots and selfies, ensuring you catch the perfect moment without blinks or unexpected movements.
Set your timer function for 1 to 30 seconds to give everyone time to get into position. This is especially useful for capturing natural and candid moments.
Adjust and reposition your subjects to snap them from various unusual angles and alternate between horizontal and vertical orientations. Shooting from different perspectives can give your subjects an intriguing sense of depth or height, making the image more visually engaging. Most smartphone photos are taken straight-on or from a bird’s eye view, so trying out new angles will make your shots stand out.
For a unique perspective, flip your phone upside down and place it on the ground. This creates a beautifully blurred foreground and background, making your subject stand out dramatically.

#9: Use editing apps
Your smartphone is a powerful handheld computer for photo editing, offering capabilities similar to high-end software. Popular apps like Adobe Express, Adobe Photoshop Lightroom, Apple Photos (included with your iPhone), Canva, Google Photos (included with your Android), Lensa, Snapseed, and VSCO provide various editing tools, such as cropping, light adjustments, and filters, making it easy for anyone to enhance photos.
While filters can instantly transform your photos, use them sparingly. Heavy filters might look trendy now but can date your images quickly. Stick to 1-2 favorite color filters and 1-2 black-and-white filters that complement each other.
Avoid over-editing. These apps are designed to give you quick, effective results without complex settings. Even non-photographers can achieve great edits without ruining their photos.
Conclusion
With these tips in your arsenal, you’re ready to take your smartphone photography to the next level. Whether you’re capturing candid moments, beautiful landscapes, or creative compositions, remember to have fun and experiment. The best photos often come from unexpected moments and unique perspectives. So go ahead, snap away, and let your photos shine!
While these tips will help you capture stunning images, sometimes you need a professional touch to elevate your marketing strategy. For those moments, consider reaching out to Baer Performance Marketing. Their expertise can enhance your visual storytelling and make a significant impact. Contact Baer Performance Marketing today!


